chunked_func#
Performs the specfied operation one “chunk” at a time to save memory.
Import Packages#
import time

import matplotlib.pyplot as plt
import scipy.ndimage as spim
from skimage.morphology import disk

import porespy as ps

ps.visualization.set_mpl_style()
func#
We will perform a dilation using scipy’s binary_dilation
func = spim.binary_dilation
im and strel#
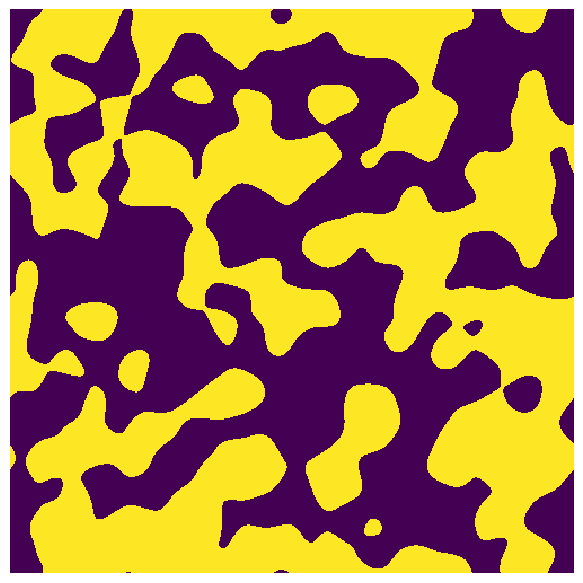
This function takes a binary image and a structuring element as arguments
im = ps.generators.blobs(shape=[500, 500])
strel = disk(3)

plt.figure(figsize=[6, 6])
plt.imshow(im)
plt.axis(False);
parallel_kw#
The parallel_kw argument takes a dictionary with the following keywords: overlap, divs, and cores. First, the user supplied or default parallel_kw dictionary will be checked for available instruction on how to perform parallelization. If not provided, the settings in porespy.settings will be used to set parllelization arguments!
overlap, divs, and cores#
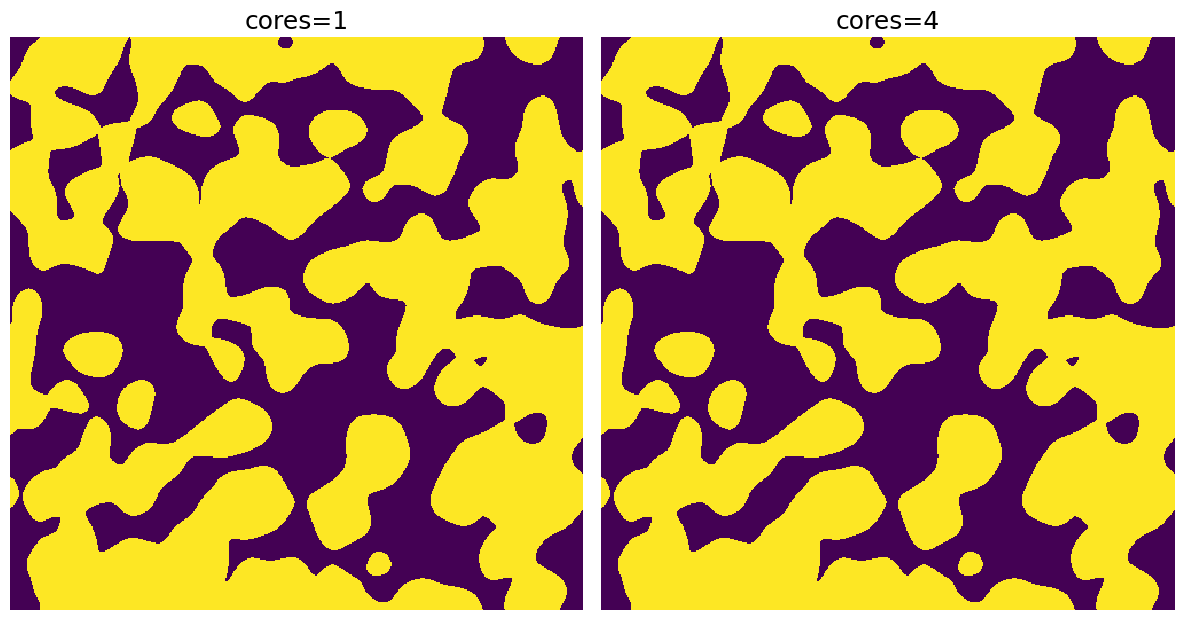
If overlap is None it will always be the radius of the structuring element. divs is the number of chunks to divide the image into in each direction and cores is the number of cores to use. The more cores the faster.
start = time.time()
parallel_kw = {"divs": 4, "overlap": None, "cores": 1}
x1 = ps.filters.chunked_func(func=func, parallel_kw=parallel_kw, input=im, structure=disk(3))
pause = time.time()
parallel_kw = {"divs": 4, "overlap": None, "cores": 4}
x2 = ps.filters.chunked_func(func=func, parallel_kw=parallel_kw, input=im, structure=disk(3))
stop = time.time()

print("OPERATION TIME:")
print("cores=1:", pause - start, "seconds")
print("cores=4:", stop - pause, "seconds")

fix, ax = plt.subplots(1, 2, figsize=[12, 12])
ax[0].axis(False)
ax[0].imshow(x1)
ax[0].set_title("cores=1", fontdict={"fontsize": 18})
ax[1].axis(False)
ax[1].imshow(x2)
ax[1].set_title("cores=4", fontdict={"fontsize": 18});
OPERATION TIME:
cores=1: 0.019855976104736328 seconds
cores=4: 0.01702094078063965 seconds